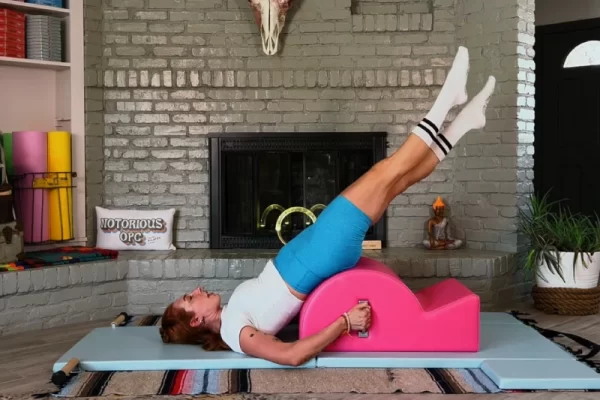
Overview of the Pilates Hip Twist With Stretched Arms Exercise
30/01/2026One of the most effective Pilates exercises for strengthening the abdominal and hip muscles is the Pilates Hip Twist With Stretched Arms. This movement not only helps create a slimmer waistline but also improves posture and overall body flexibility. Let’s explore the Pilates Hip Twist With Stretched Arms exercise and understand why it is so popular within the Pilates method.
What Is the Pilates Hip Twist With Stretched Arms Exercise?
Hip Twist is the shortened name for Hip Twist With Stretched Arms. This is the 23rd exercise in the classical Pilates Mat sequence and belongs to the integrated movement series. The exercise strongly activates and trains the deep abdominal muscles, hip flexors, and knee extensors. At the same time, the stabilizing muscle groups of the lower back and shoulders are highly engaged.
Hip Twist is an abbreviation for the exercise Hip Twist with Stretched Arms.
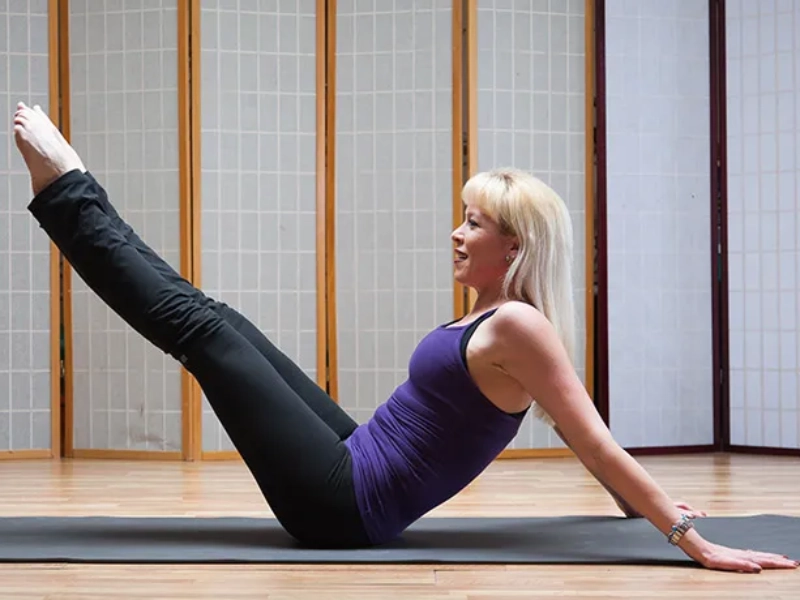
Notably, Hip Twist is considered one of the most intense abdominal exercises in the classical Mat repertoire. It requires a high level of coordination between strength, flexibility, core connection, and abdominal control. For this reason, the exercise is generally recommended only after you have mastered the foundational Pilates movements.
According to Joseph Pilates’ original instructions in his book Return to Life, the exercise begins in a seated position with both legs extended straight and together. However, in many modern Pilates classes, Hip Twist is slightly modified to suit contemporary practitioners. Despite these adaptations, the core principle remains unchanged: full body control through the abdominal muscles, without relying on momentum or leg swinging.
How to Perform the Hip Twist With Stretched Arms
Steps to perform the Hip Twist With Stretched Arms exercise:
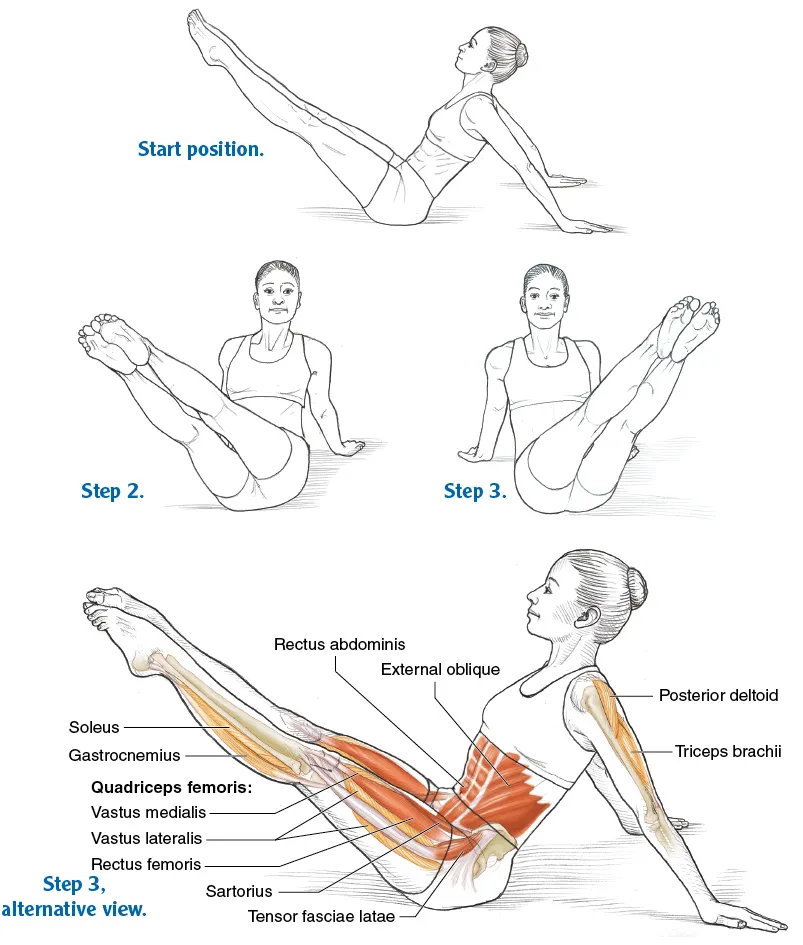
How to Perform the Pilates Hip Twist With Stretched Arms Exercise.
- Sit upright with both legs extended straight in front of you and pressed together. Place your hands on the Mat behind you, with fingers pointing away from the body. Inhale to lift both legs off the Mat into the Teaser position.
- Exhale as you rotate both legs to the right, down, around, and return to the starting position.
- Reverse the circle in the opposite direction, rotating both legs to the left, down, around, and back to the starting position.
- If you can keep your torso stable while rotating the legs, challenge yourself by lifting the opposite hip slightly off the Mat during the circular movement.
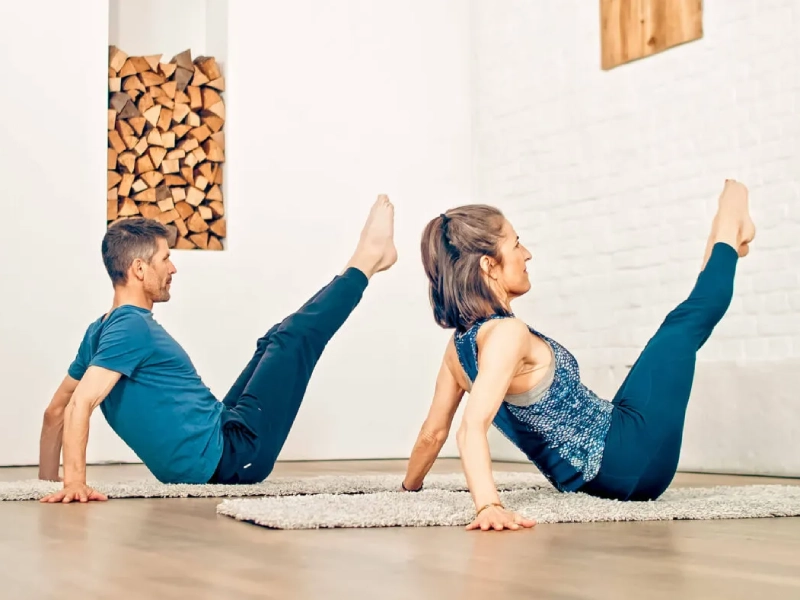
Variations of the Hip Twist With Stretched Arms
If you have tried performing the Hip Twist, you will quickly realize how challenging it is. This is not an exercise for beginners. Therefore, the first recommendation is not to rush into this movement if you do not yet have strong abdominal control. You should first practice the foundational exercises in the Pilates Mat sequence to build a solid base.
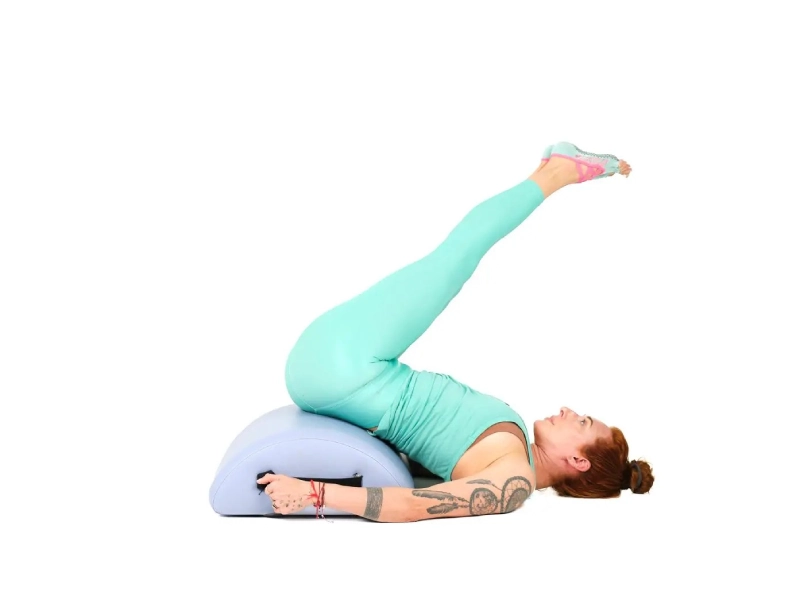
Another variation you should practice before attempting the full Hip Twist With Stretched Arms is simply maintaining the starting position. From a seated position, roll the torso slightly backward, place your hands behind you, lift your legs off the ground, keep them together, and extend the knees as far as possible. Hold the position while breathing slowly.
Variations of the Hip Twist Stretched Arms exercise.
If this is still too challenging, from the half rolled back position with hands placed behind you, keep your feet on the ground and alternate extending and bending one knee at a time.
Additionally, you can try another preparatory variation by moving only the pelvis and legs from side to side. If your body feels too stiff, you may slightly bend the knees until you can eventually perform the exercise with fully extended legs.
If your goal is to increase the intensity of the Pilates Hip Twist With Stretched Arms, try completing all the circles in one direction first, then perform the same number of repetitions in the opposite direction.
When lengthening the spine diagonally backward, imagine your pelvis anchored to the sacrum and tailbone. At the same time, feel your toes reaching away as if you are pulling your legs out of the hips.
Overall, the Hip Twist is a high intensity exercise that requires excellent technique. Before performing the full movement, focus on maintaining correct posture in the starting position. Pay attention to body alignment, spinal length, limb angles, and upper body stability small details that are essential for safe and effective execution.
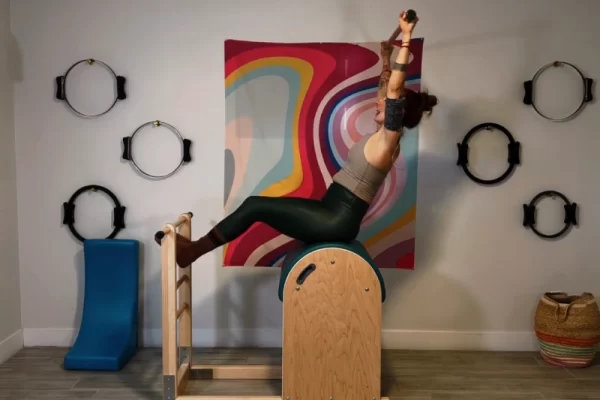
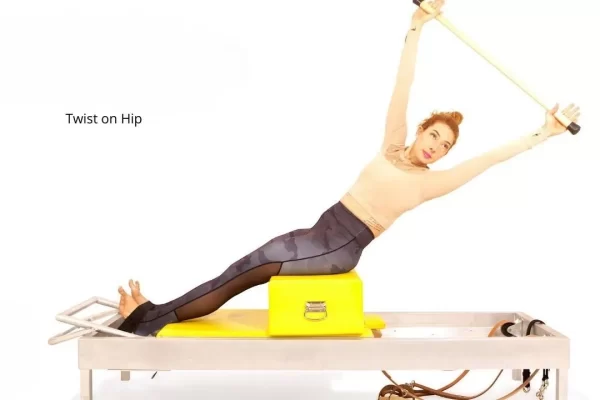
Pilates Hip Twist on the Spine Corrector
In addition to performing it on the Mat, the Pilates Hip Twist can also be practiced using the Spine Corrector. When performed on this apparatus, the exercise becomes even more effective, particularly in reducing tension in the lower back and hips while enhancing overall flexibility.
How to Perform the Pilates Hip Twist on the Spine Corrector
To perform the Pilates Hip Twist on the Spine Corrector effectively, the most important factor is precise control of technique and movement. This exercise requires coordinated engagement of the core muscle groups, especially the abdominals, hips, and lower back.
How to perform the Hip Twist exercise on a Spine Corrector.
Below are the detailed steps to help you practice safely and correctly:
- Sit on the apex of the Spine Corrector so that the pelvis is fully supported. Place your hands behind you and extend both legs forward.
- Open your arms to assist with balance and keep the upper body upright. Ensure that the tailbone and hips are supported by the Spine Corrector to stabilize the spine.
- Lift both legs off the floor. Slightly bend the knees to create additional abdominal stability.
- Use abdominal strength to rotate the hips to the left while keeping the upper body still.
- After rotating fully to the left, inhale to return the legs to the center, then exhale to rotate the hips to the right.
- Continue rotating the hips left and right in a smooth, controlled arc like motion.
- After completing the desired number of repetitions (typically 8-10 per side), gently lower the legs back to the starting position.
Important Notes When Performing the Hip Twist With Stretched Arms
The Pilates Hip Twist With Stretched Arms is an excellent exercise, but to maximize effectiveness and prevent injury, keep the following points in mind:
- Maintain spinal stability throughout the entire movement.
- Be careful not to create tension in the neck.
- Check that your head stays aligned and does not jut forward.
- Always seek axial length by reaching upward toward the ceiling.
- Keep both legs straight and together throughout the exercise.
- Point your feet forward in a flexed foot position.
- Avoid lifting the shoulders; maintain scapular connection.
- Do not collapse the Pilates box or increase intra abdominal pressure.
- Keep your elbows straight throughout the exercise, without overextending.
- Do not allow the legs to slide over each other.
- Avoid locking or hyperextending the knees.
- Do not perform this exercise if your physical condition does not allow it. Begin with preparatory or modified variations instead.
In conclusion, this overview of the Pilates Hip Twist With Stretched Arms helps clarify both the technique and benefits of the exercise. It is an excellent addition to any Pilates routine, supporting balance, flexibility, and core strength for a healthier, more resilient body. Start with simple progressions, stay consistent, and you will notice meaningful improvements over time.