Pilates Corkscrew Exercise: A Complete Guide to Proper and Safe Practice
29/12/2025The Pilates Corkscrew exercise is one of the most effective movements for improving core stability and abdominal strength. Designed to enhance flexibility and balance, this exercise not only delivers physical benefits but also helps reduce stress and promote relaxation. Let’s explore the goals, benefits, and correct execution of the Pilates Corkscrew in a clear and detailed way.
What Is the Pilates Corkscrew Exercise?
Pilates Corkscrew is one of the 34 original Pilates exercises created by Joseph Pilates. It is the 10th exercise in the original sequence, meaning you have completed about one-third of the journey. This movement is a spinal rotation exercise and is often the first rotational movement introduced in a Pilates session (unless paired earlier with Single Leg Circle).
Pilates Corkscrew is one of the 34 original Pilates exercises created by Joseph Pilates.
The Corkscrew requires significant stability and control from the deep core muscles and shoulder girdle. Although it may look simple raising the legs and drawing circles in the air it is actually quite challenging due to the complex demands it places on the body, especially maintaining stability while rotating the lower spine.
Benefits of the Pilates Corkscrew Exercise
The Corkscrew is more than just a twisting movement it is a foundational Pilates exercise that follows core Pilates principles. Whether performed in a basic or advanced variation, regular practice offers the following benefits:
Strengthens the Abdominal Muscles
The Pilates Corkscrew exercise is highly effective for strengthening the abdominal muscles, particularly the deep core muscles such as the transverse abdominis and lower abdominals. During the circular motion, the abs work continuously to maintain control and stability, improving both strength and endurance.
Activates the Oblique Muscles
Corkscrew is an excellent exercise for activating and strengthening the oblique muscles, which play a key role in spinal stability and rotational movement. As the body rotates, the obliques engage intensively, helping to tone the waist, improve balance, and enhance flexibility.
Improves Flexibility
One of the standout benefits of the Pilates Corkscrew is improved spinal and overall body flexibility. The circular motion moves the spine through multiple planes, gently lengthening and mobilizing surrounding muscles and joints. Maintaining flexibility is essential for injury prevention and long-term physical health.
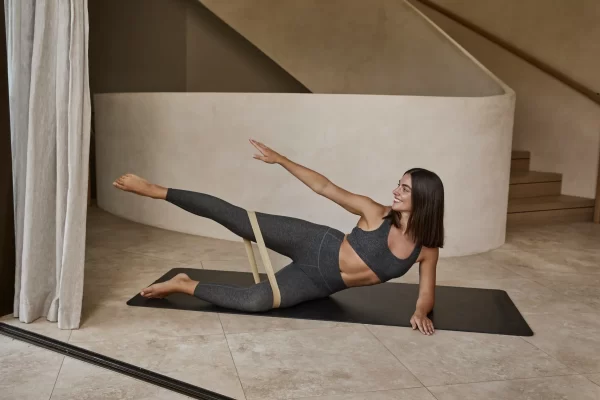
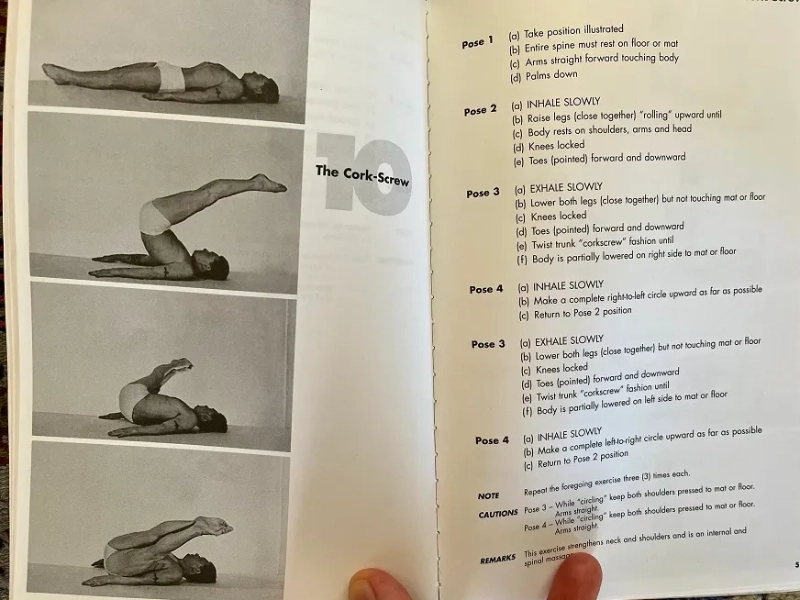
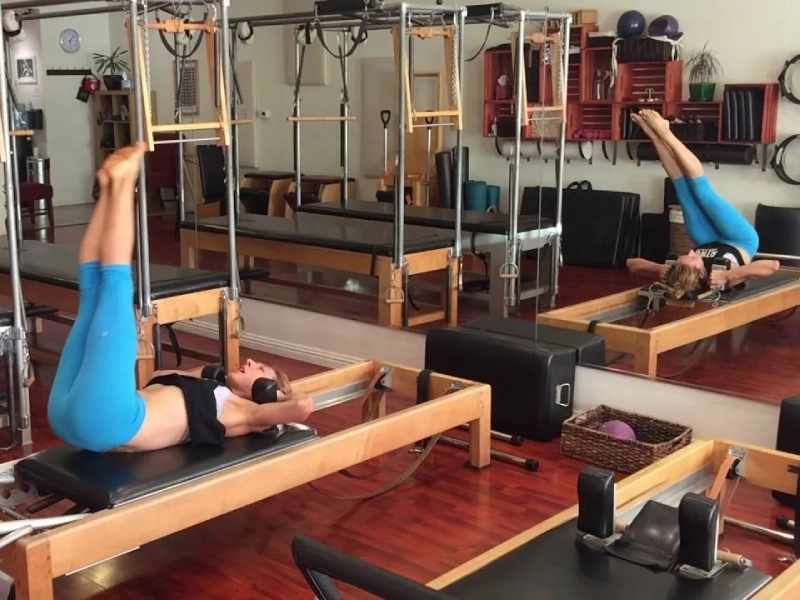
How to Perform the Corkscrew Exercise (Mat Version)
Follow these steps to perform the Pilates Corkscrew correctly:

Perform the Corkscrew Exercise on the Mat.
- Lie on your back with arms extended alongside the body, palms facing down, and legs extended straight toward the ceiling.
- Engage the core by drawing the abdominal muscles down toward the navel and lifting through the pelvic floor.
- Using the arms for support, lift the hips toward the ceiling and bring the legs overhead. Lift only as high as feels comfortable and hold the top position for 1-2 seconds.
- Shift the legs slightly to the right (about 15-30 cm) until you begin to feel off balance.
- Maintain control as you slowly roll down through the spine, keeping pressure through the right oblique.
- Once the right hip returns to the mat, lower the legs to a 45-degree angle in front of you, allowing both hips to stabilize evenly on the mat.
- Slowly lift the legs back to the starting position. Repeat on the left side.
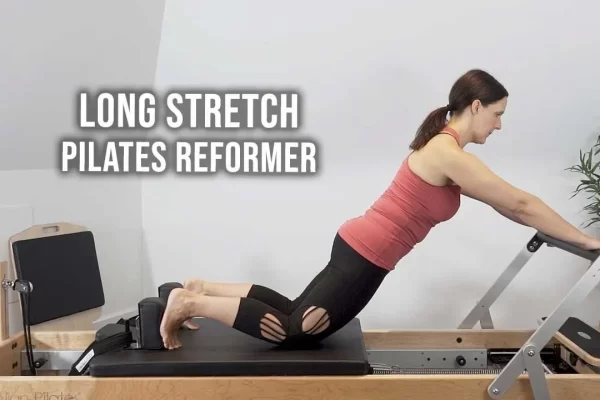
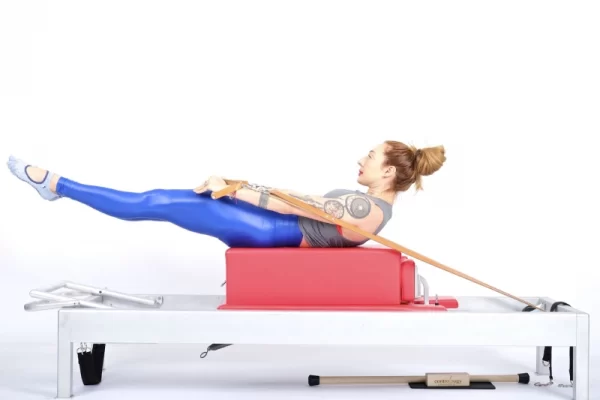
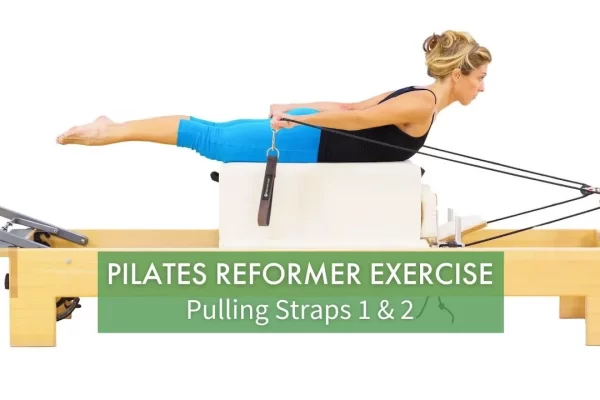
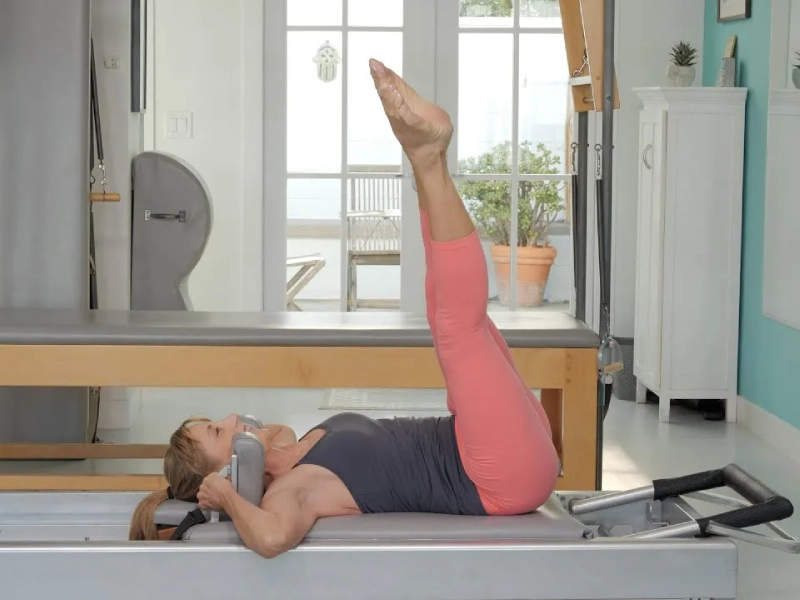
How to Perform the Pilates Corkscrew on the Reformer
In the Corkscrew exercise, the Reformer plays an important role in maintaining proper alignment while increasing the challenge for abdominal oblique muscles.
Combining the Corkscrew with the Reformer enhances strength, posture, body control, balance, and flexibility.
Perform the Pilates Corkscrew on the Reformer.
Step by Step Guide
- Lie on your back on the Reformer with your head on the headrest. Extend your arms alongside the body, lightly holding the straps or handles. Legs are straight and together, placed in the straps or on the footbar.
- Engage the abdominal muscles and keep the spine neutral, ensuring the lower back does not arch off the Reformer. Inhale and lift both legs until they are perpendicular to the body.
- From this position, draw a small circle by lowering both legs to one side (e.g., right) while keeping the hips stable. Exhale and use the core to bring the legs through center, return them to the starting position, then lower to the left side completing one full circle.
- Repeat the movement 5-8 times, changing the direction of rotation to maintain balance on both sides of the body.
- Throughout the exercise, maintain control and focus on using the abdominal and oblique muscles rather than momentum.
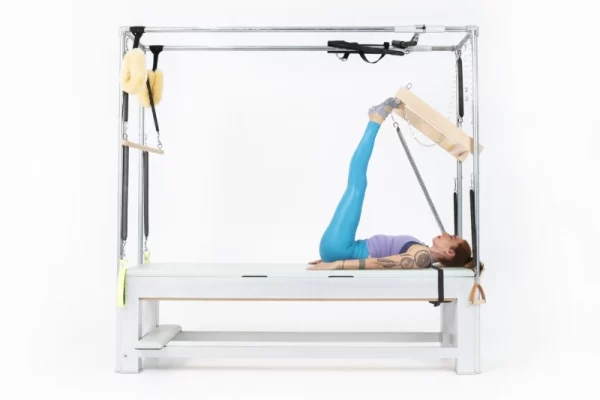
How to Perform the Pilates Corkscrew on the Wunda Chair
This version is commonly used in advanced Pilates classes or guided training programs to strengthen the abdominal and spinal muscles. With support from the Wunda Chair, the Corkscrew offers a unique challenge that enhances coordination and total-body strength. Step-by-Step Instructions
Step 1: Starting Position
- Lie on your back on the floor with your head facing the Wunda Chair.
- Ensure your head remains on the floor, positioned about 2-3 cm away from the chair.
- Adjust the springs to a medium resistance. Increase support if needed, but avoid excessive resistance.
- Place your hands on either side of the pedal, gently holding it using upper-back engagement.
- Keep your gaze toward the ceiling.
Step 2: Leg Placement
- Lift the legs straight up, perpendicular to the hips.
- Press the legs together while maintaining abdominal and hip engagement.
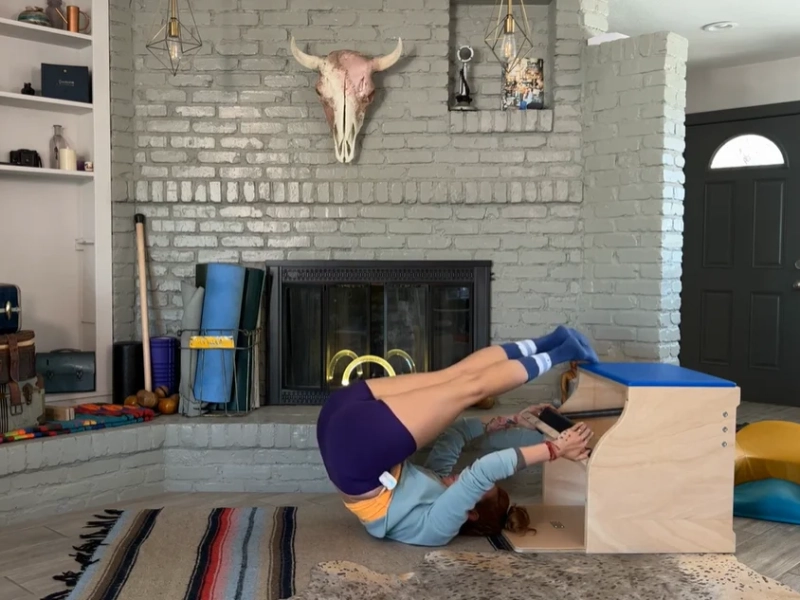
Perform the Pilates Corkscrew on the Wunda Chair.
Step 3: Perform the Rotation
Lift the Hips
- Use abdominal strength to lift the hips upward, guiding them over the top of the chair.
- Shift body weight onto the shoulders without placing pressure on the neck.
Rotate the Legs
- Move the feet toward the corner of the Wunda Chair.
- Slowly lower the body to one side, rotate through the center, and circle to the opposite side.
Change Direction: Repeat the movement in the opposite direction, creating smooth, controlled circles.
Step 4: Repetition
Perform 3 repetitions on each side, maintaining steady breathing and controlled movement.
Important Notes
- Always maintain control and avoid using momentum.
- Do not place pressure on the neck while lifting the hips.
- Adjust spring resistance and movement speed according to your ability.
Tips for Performing the Corkscrew Exercise
- Engage the core muscles throughout the movement for stability and control.
- Begin with slow, controlled movements before increasing speed.
- Focus on breathing: inhale through the nose, exhale fully through the mouth.
- Keep shoulders relaxed and away from the ears to prevent tension.
- Maintain a neutral spine throughout the movement.
- Rotate the hips through a full range of motion without forcing or discomfort.
- To increase difficulty, use resistance bands or light weights.
- Practice regularly to improve coordination and balance.
- Listen to your body and rest when needed. Pushing through pain may lead to injury.
- Consult a healthcare professional if you have underlying health concerns.
Frequently Asked Questions About the Pilates Corkscrew Exercise
1. Is the Corkscrew suitable for beginners?
Yes, beginners can perform the Corkscrew with simplified variations and appropriate modifications. Focus on technique and control to prevent injury. Using support and reducing range of motion can make the exercise more accessible.
2. How many times per week should I practice the Pilates Corkscrew on the Reformer?
For beginners, 2–3 times per week is ideal to avoid muscle fatigue. As technique improves, frequency can increase to 4-5 sessions per week for optimal results.
You can do this exercise 2-3 times a week, which is reasonable to avoid excessive muscle strain.
3. What should I do if I feel lower back pain during the exercise?
Stop immediately and reassess your alignment. Ensure the lower back stays supported on the Reformer and avoid lifting the hips too high. Using padding or reducing range of motion may help. Consult a trainer or medical professional if pain persists.
4. Can the Corkscrew improve flexibility?
Yes. The Corkscrew effectively improves flexibility, especially in the spine and abdominal region. Regular practice enhances range of motion and suppleness when combined with stretching exercises.
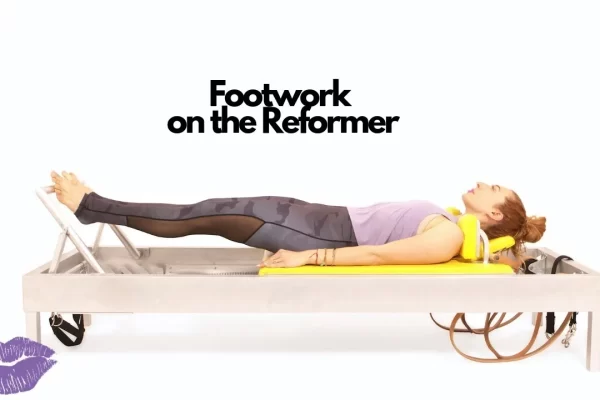
5. Which exercises should I combine with Corkscrew for best results?
For balanced training, combine Corkscrew with other Pilates exercises such as Footwork to strengthen the legs and core. Stretching and yoga can further improve flexibility and reduce injury risk.
6. Can the Corkscrew help with weight loss?
The Corkscrew primarily targets core and oblique strength rather than direct weight loss. However, when combined with a comprehensive workout routine and a healthy diet, it can support overall fitness and weight-management goals.
With clear objectives and outstanding benefits, the Pilates Corkscrew exercise is a valuable addition to any Pilates routine. Apply proper technique to maximize results and prevent injury. Start practicing today and experience the positive changes Pilates Corkscrew can bring to your body and overall health.